This article covers everything you need to know about mounting your Silver Shield device. Follow the video instructions below to mount.
1. Clean the Mounting Area
Use an alcohol wipe to clean the wall surface where the bracket will be installed. This helps ensure strong adhesion.
2. Mark the Mounting Height
Measure 2 meters from the floor and mark the height on the wall with a pencil.
3. Apply Adhesive Strips
Attach one 3M adhesive strip to each flap of the mounting sleeve.
4. Prepare the Flaps
Remove the red backing from the adhesive strips, then gently fold the flaps inward.
5. Position the Sleeve
Align the bottom of the sleeve with the pencil mark. Fit it snugly into the corner, ensuring it is level and flush with both walls. Make sure the bracket is not tilted up or down.
6. Press to Secure
Hold the bracket in place with one hand and firmly press each flap against the wall. Hold each flap for 5 seconds to secure the adhesive.
1. Mark the Mounting Height
Measure 2 meters from the floor and use a pencil to mark the height on the wall.
2. Position the Sleeve
Align the bottom of the mounting sleeve with the pencil mark. Fit it snugly into the corner, ensuring it is level and flush with both walls. Make sure the bracket is not tilted up or down.
3. Mark Drill Points
While holding the bracket in place, use a pencil to mark the location of each screw hole.
4. Drill Pilot Holes
Drill holes at each of the marked points to prepare for the screw anchors.
5. Insert Screw Anchors
Gently tap the screw anchors into the drilled holes until they sit flush against the wall surface.
6. Reposition the Sleeve
Align the mounting sleeve with the drilled holes and hold it in place. Confirm it remains level and properly positioned in the corner.
7. Secure the Bracket
Using a Phillips head screwdriver, drive the screws into the anchors to firmly secure the mounting sleeve in the corner.
Still have questions? Contact support@pontosense.com.
Cable ties keep the power cord of your Silver Shield device anchored on the wall, preventing it from hanging loosely or becoming a tripping hazard.
What you'll need:
-
Adhesive cable ties (included in box)
-
Power cable
-
Clean cloth or alcohol wipe
1. Prepare the Surface
Clean the wall where the cable will be anchored using a cloth or alcohol wipe. Let it dry fully before continuing.
2. Position the Cable Tie
Slide the power cable through the opening in the cable tie.
3. Test the Placement
Gently hold the cable tie against the wall to test the placement.
-
Ensure the cable is taut but not strained
-
Position ties every 30–50 cm for best results
4. Stick to the Wall
Once satisfied with the placement:
-
Peel off the adhesive backing from the cable tie
-
Press the tie firmly onto the wall and hold for 5–10 seconds to ensure it sticks
5. Repeat as Needed
Continue placing additional ties to route the cable neatly down the wall or along a baseboard.
Still have questions? Contact support@pontosense.com.
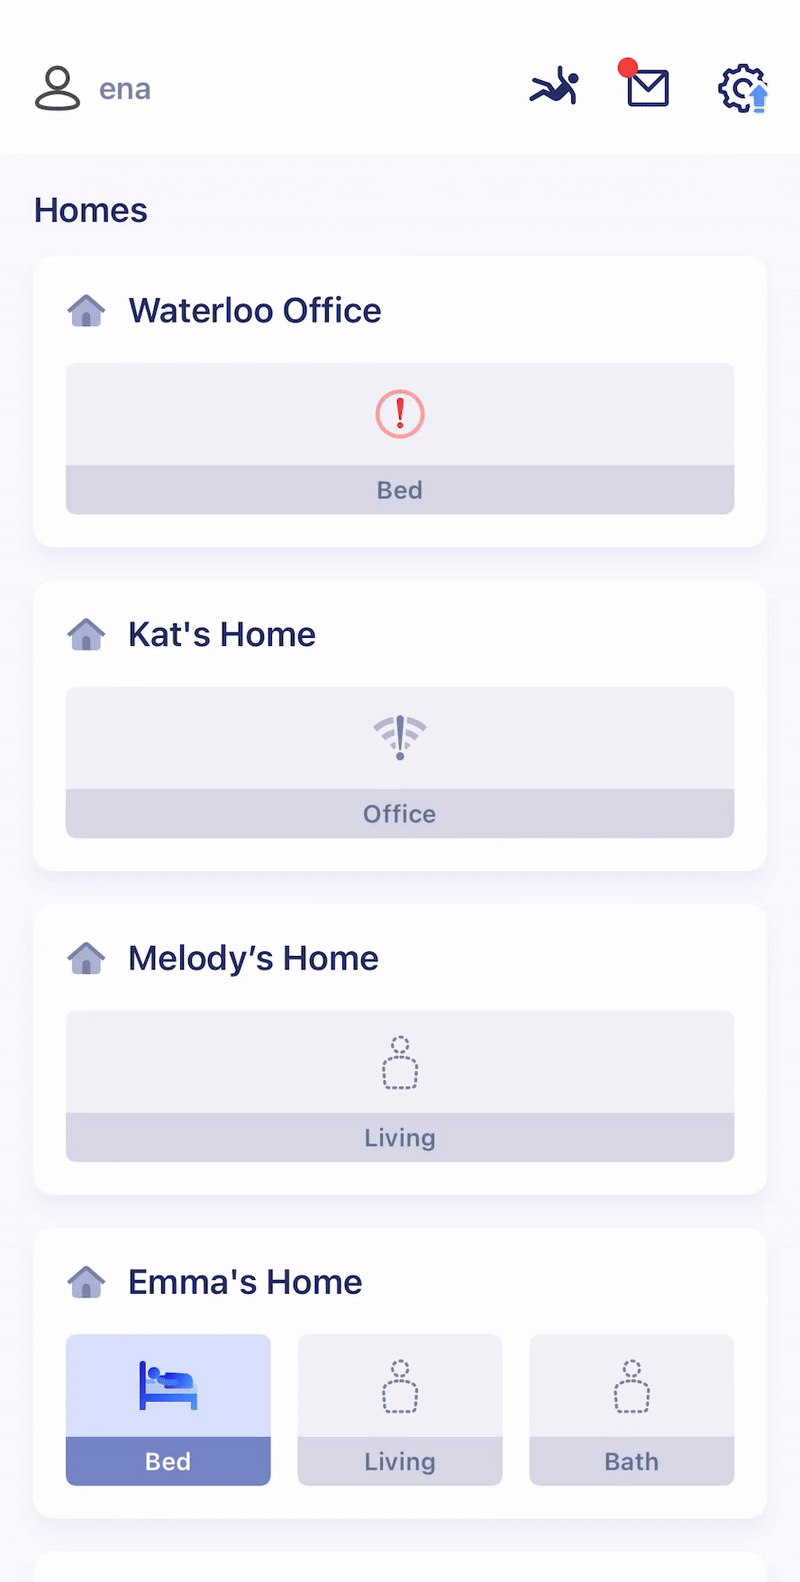
A mounting error occurs when the device is not properly aligned in the corner (either tilted too far up/down or rotated too much to one side).
When a mounting error is detected:
-
The device will stop functioning to prevent inaccurate sensing.
-
You'll see a warning in the app to help you identify and fix the issue.
To restore functionality, you'll need to reposition the device so it sits level and centered in the corner.
1. Open the Rooms View
Select the room showing a mounting error.
2. Tap Angle Correction
View the tilt indicators:
-
Up/Down Tilt: Device is pointing too far up or down.
-
Rotation Tilt: Device is rotated clockwise or counter-clockwise in the corner.
3. Adjust the Device Placement
-
For Up/Down Tilt: Reposition the bracket so it is level horizontally. The device should not be angled up toward the ceiling or down to the floor.
-
For Rotation Tilt: Ensure the device is mounted flush against both walls and not twisted in the corner. The front of the device should face outward, bisecting the 90° corner evenly.
4. Check LED Status
Once correctly aligned, the red LED will turn off, indicating the error has been resolved.
5. Still Seeing an Error?
Tap Add Device in the Rooms view and re-follow the onboarding steps to recalibrate the room.
-
Clean the wall with alcohol wipes before adhesive mounting.
-
Make sure the walls in the corner are vertical and flush.
-
If reinstalling, replace the adhesive tape before remounting the sleeve.
Still have questions? Contact support@pontosense.com.
If your device is experiencing a mounting error, you may need to replace the adhesive on the mounting sleeve to ensure a level setup on the wall corner.
Remove your device from the mounting sleeve, then gently remove the mounting sleeve from the wall corner by pulling on the adhesive flaps. Peel off the existing tape. Follow the video instructions below to re-install your device.
1. Clean the Mounting Area
Wipe the wall with an alcohol wipe to ensure a clean surface for proper adhesion.
2. Mark the Wall
Measure 2 meters from the floor and mark the spot on the wall using a pen.
3. Apply 3M Tape
Stick 3M tape to each flap on the mounting bracket for secure installation.
4. Fold the Flaps
Gently fold the flaps inward so they’re ready to be pressed into the wall.
5. Align the Bracket
Line up the bottom of the mounting sleeve with the pencil mark. Make sure the bracket is flush and level—not tilting upward or downward.
6. Secure the Mounting Sleeve
Hold the sleeve in place with one hand, then press each flap firmly against the wall. Hold each flap for 5 seconds to ensure strong adhesion.
Still have questions? Contact support@pontosense.com.
Follow the guidelines below to troubleshoot Wi-Fi connection for your device.
If your device isn't connecting to Wi-Fi:
1. Verify your network name and password
Ensure that the Wi-Fi name and password are accurate.
2. Power cycle your device
Unplug the device from power, wait a few seconds, and plug it back in. If the LED blinks green, try onboarding the device again.
3. Restart your device
Hold the button on the bottom edge of your Silver Shield device. Wait for the light to link red, then green. Once it blinks green, reattempt onboarding.
4. Verify your Wi-Fi band
Check your router settings to ensure it is set to broadcast on the 2.4 GHz band. If your router is dual-band, ensure that both bands are enabled.
5. Check your router's firewall settings
Ensure that your Silver Shield device is whitelisted so that security settings are not preventing it from connecting to Wi-Fi. Contact your ISP for assistance.
If your device's signal strength is low:
1. Check your network speed
Run a speed test or check your router settings to ensure your internet connection is stable. If the signal is weak, try moving your device closer to the router or contact your ISP for help.
2. Move your device closer to your router
If there are no power outlets nearby, use an extension cord to power your device.
3. Contact your ISP
There may be an issue with your router's functionality.
Still have questions? Contact support@pontosense.com.
Choosing a suitable corner to install Silver Shield is important to maximize the device's field of view and accuracy. Below are guidelines to ensure installation is best for your space.


Still have questions? Contact support@pontosense.com.